


Description
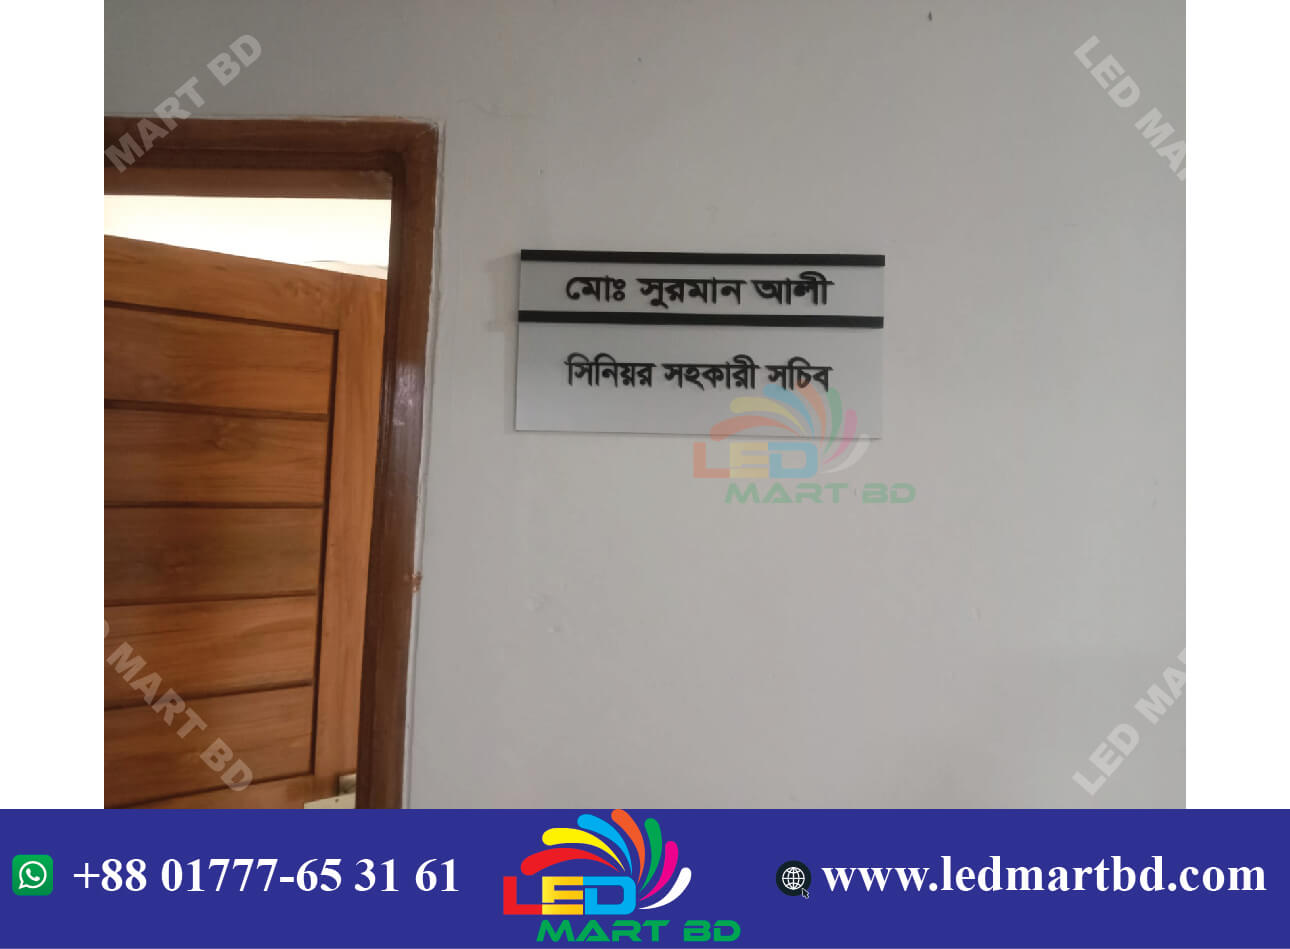
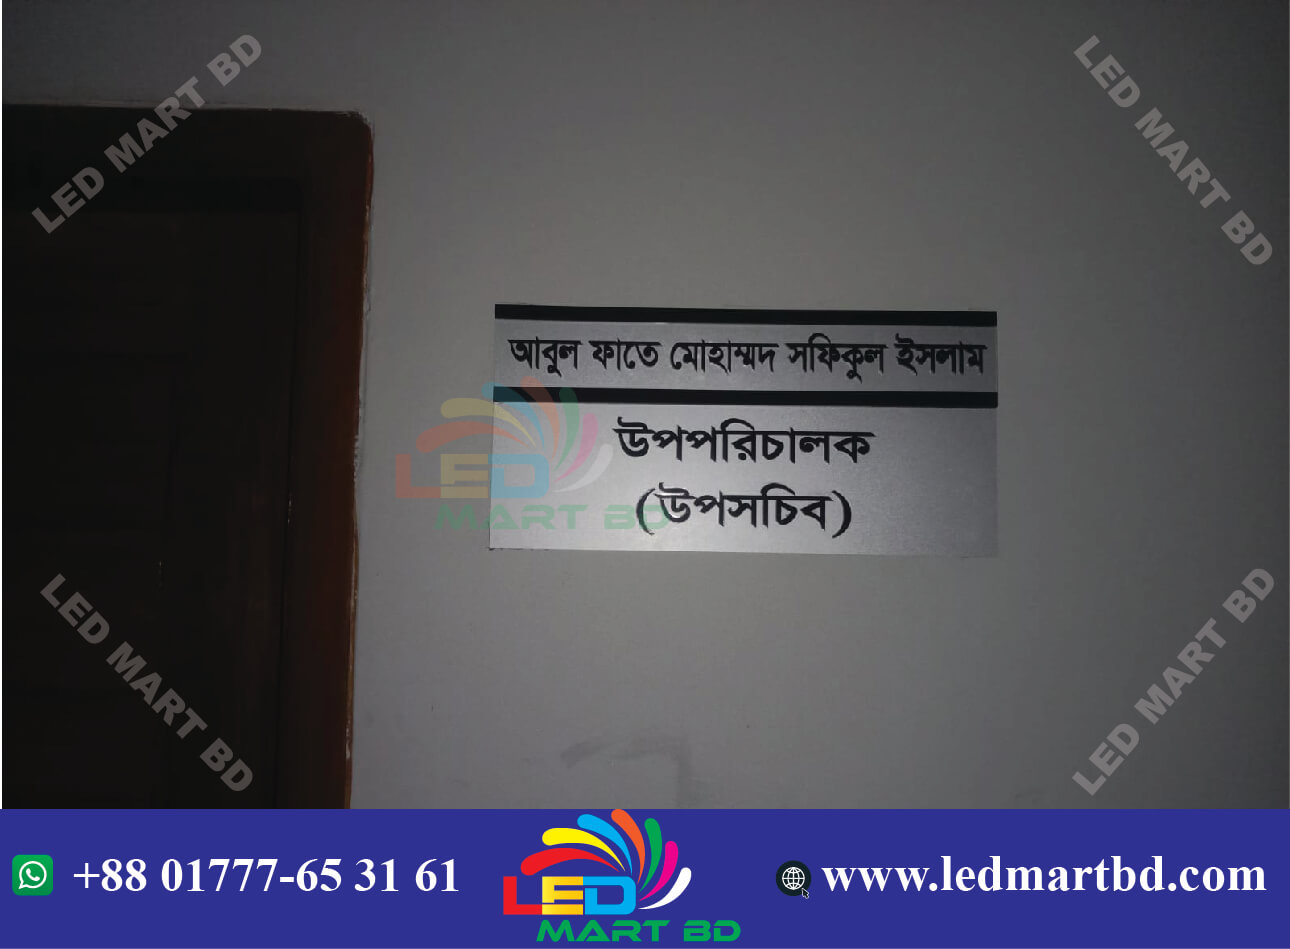
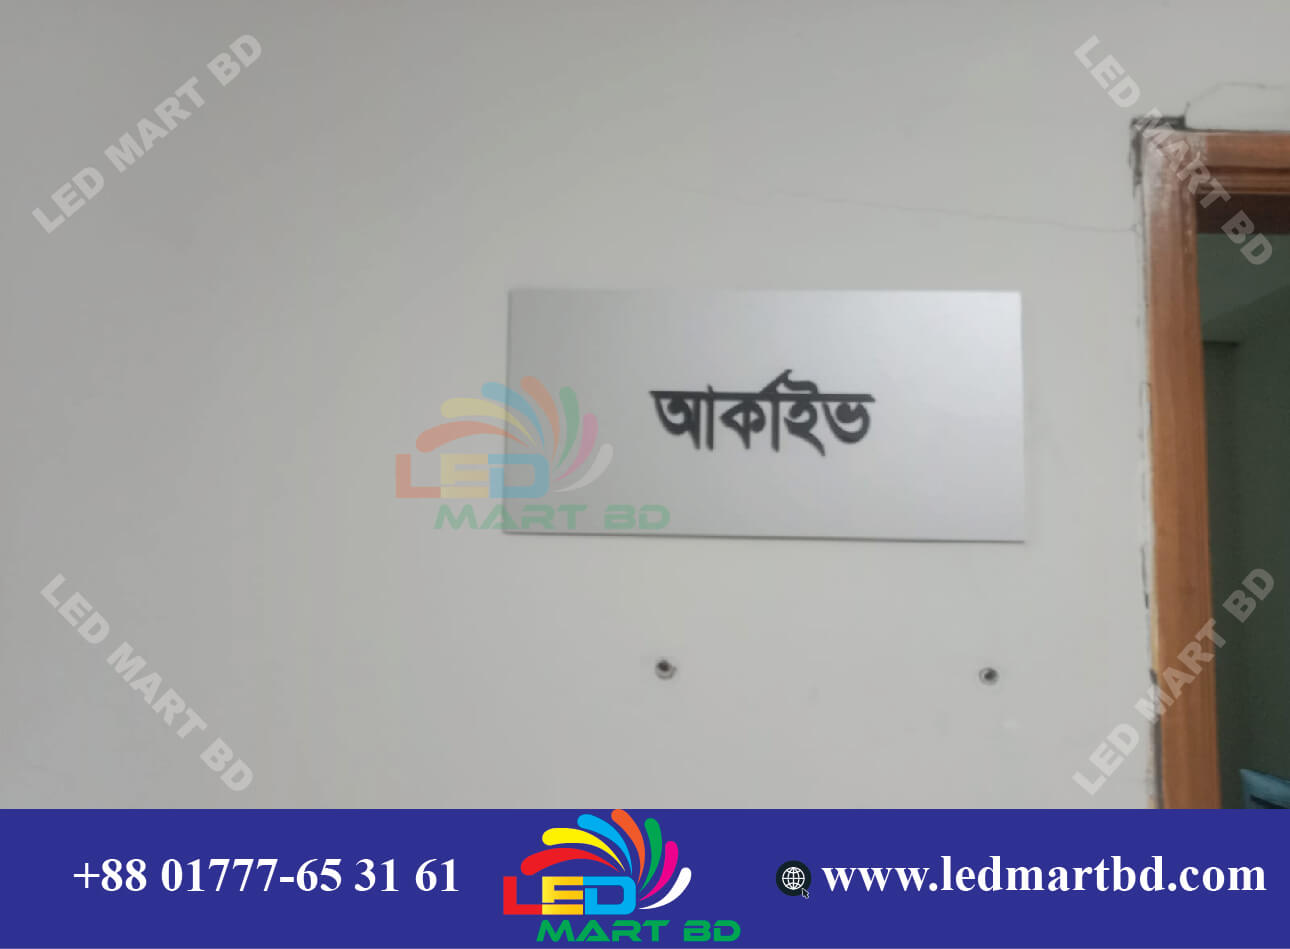
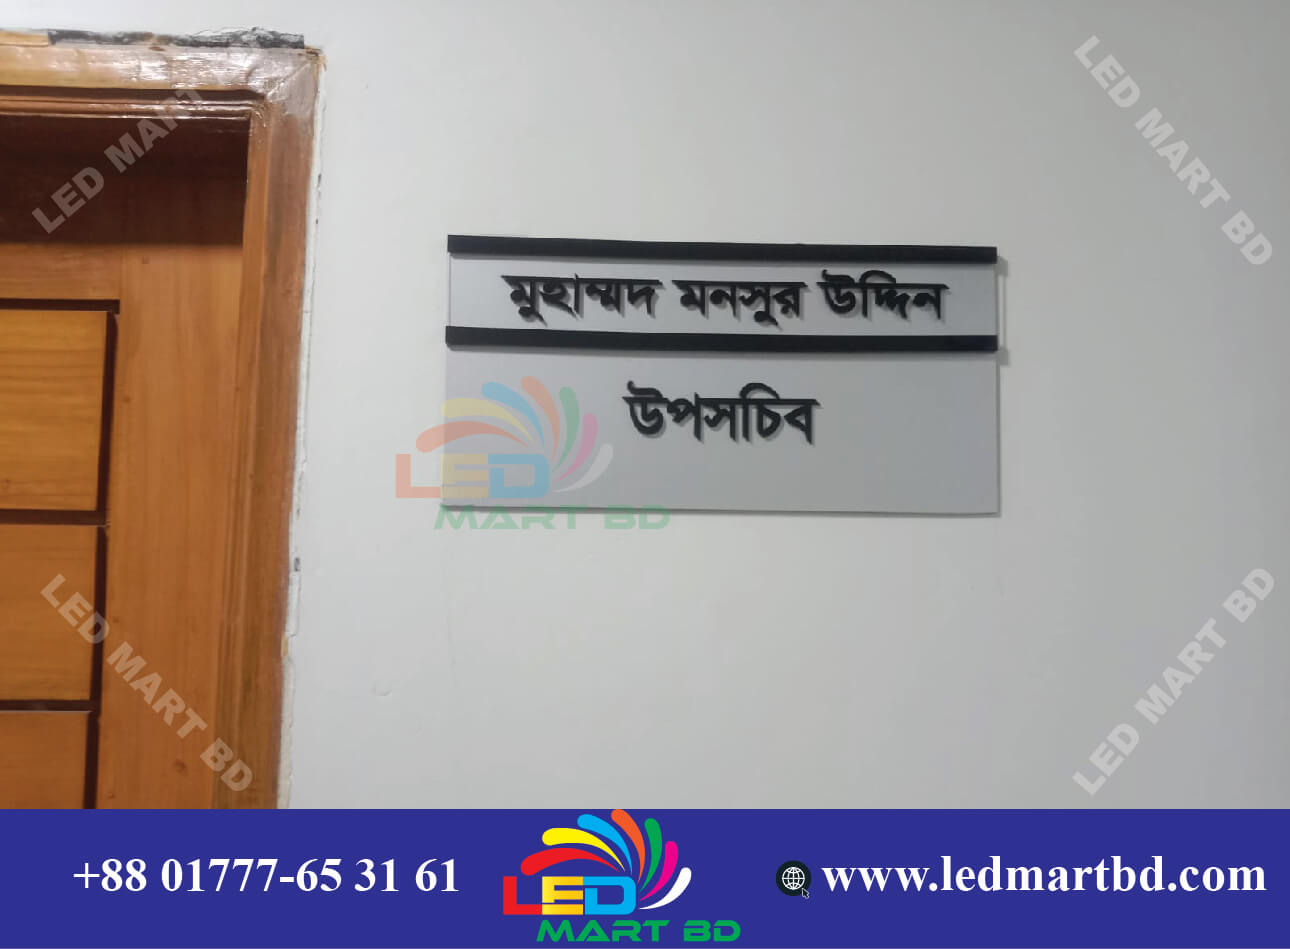
Here’s a clear, step-by-step guide on how to make acrylic door name plates — whether for home, office, or business use:
🧰 Materials You’ll Need
-
Acrylic sheet (2–5 mm thick, clear, colored, or frosted)
-
Cutting tool (laser cutter or acrylic cutter)
-
Protective gloves and ruler
🪚 Step 1: Design Your Name Plate
-
Use software like Adobe Illustrator, or Adobe Photoshop.
-
Set the size (common sizes: 8″, 16″, etc.).
-
Add the name, logo, or graphics you want to display.
-
Save the file in vector format (SVG, PDF, or AI) for cutting or printing.
✂️ Step 2: Cut the Acrylic Board
-
If you have a laser cutter, use it for smooth edges.
-
Or mark and cut manually with an acrylic cutter (score and snap).
-
Remove the protective film only after cutting.
🖋️ Step 3: Add the Text or Design
You’ve got 3 main options:
-
Vinyl stickers:
-
Cut vinyl with a plotter and stick it on the acrylic.
-
Great for colorful, glossy designs.
-
-
UV printing:
-
Print directly on the acrylic using a UV printer (professional finish).
-
-
Laser engraving:
-
Etch the design into the surface for a frosted look.
-
✨ Step 5: Finishing Touches
-
Clean with a microfiber cloth and mild cleaner.
-
Don’t use alcohol or harsh chemicals—they scratch or cloud acrylic.
Would you like me to show a visual example or layout design for an acrylic door name plate (with your name or logo idea)? I can make one for you

Reviews
There are no reviews yet.